Use RideWithGPS to create routes to be placed on this website. On the RideWithGPS web page select the Routes option from the menu.
NOTE: It is best to create an account for this purpose, so that you can retrieve your previously created routes.
Follow this video on how to create a new route.
Once the route is saved ensure the panel on the right is open (if not already open) and select the Share->Embed Map option.
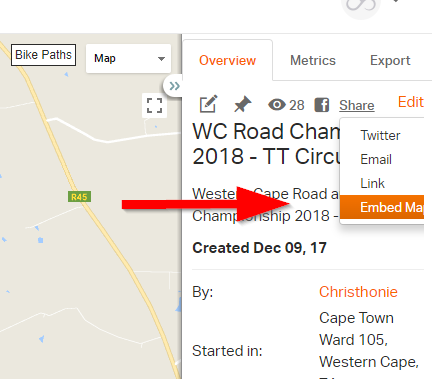
A dialogue is now displayed where the route to be embedded can be configured. For instance, override the title if needed by specifying one.
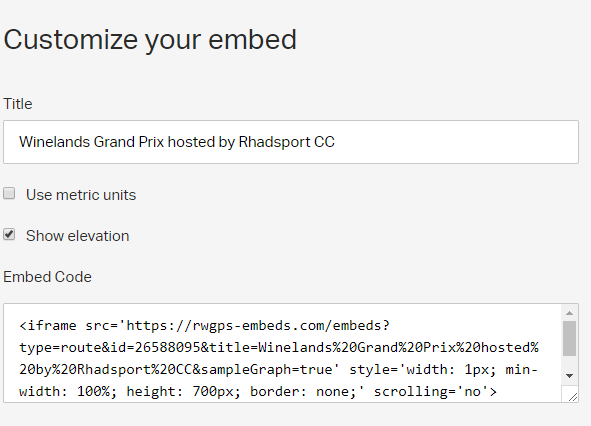
Copy the Embedded code, the stuff starting with <iframe> and ending in </iframe>. Make sure to copy all the text! Now go back to the event page.
On the event page switch to “The Matrix” mode 😉 by changing from Visual to Text mode using the tabs provided. This will reveal the HTML code behind the page you are editing.

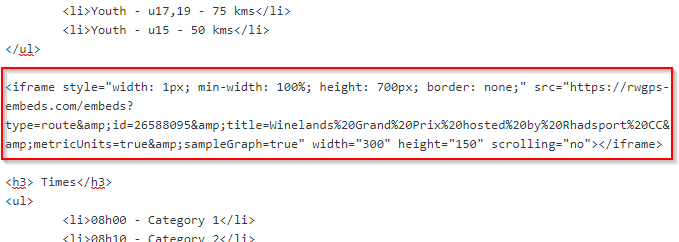
Find the location in the code where you want to insert the map. It helps to place some marker text, like the characters XXX, on the page where you want the map to appear prior to switching over to Text mode, then find that marker (you can use the browser’s Find function, using Ctrl-F, to do that) and replace the marker XXX with the code copied from RideWithGPS.
Ensure that you do not select a position in between 2 HTML tags, for instance between an <ul …. > and </ul>, <h3> and </h3>, etc. tags in the picture below.
Now switch back to Visual mode (use the tabs at the top right of the editor again). The GPS map might look out of proportion while being edited, but will appear correctly once published.
The video below illustrates how this link is created in a bit more detail. The video is a bit outdated and still refer to the old way of doing it. The menu has since changed and where it refers to Web Widget you need to select Embed Map as described above.